Saturday, January 31, 2015

Finished Object Roll Call: January 2015

KNITTING/CROCHETING 
5PHD's completed, 2 frogged. 
The Last Dishcloth in a Set 

Two weeks after Christmas... 
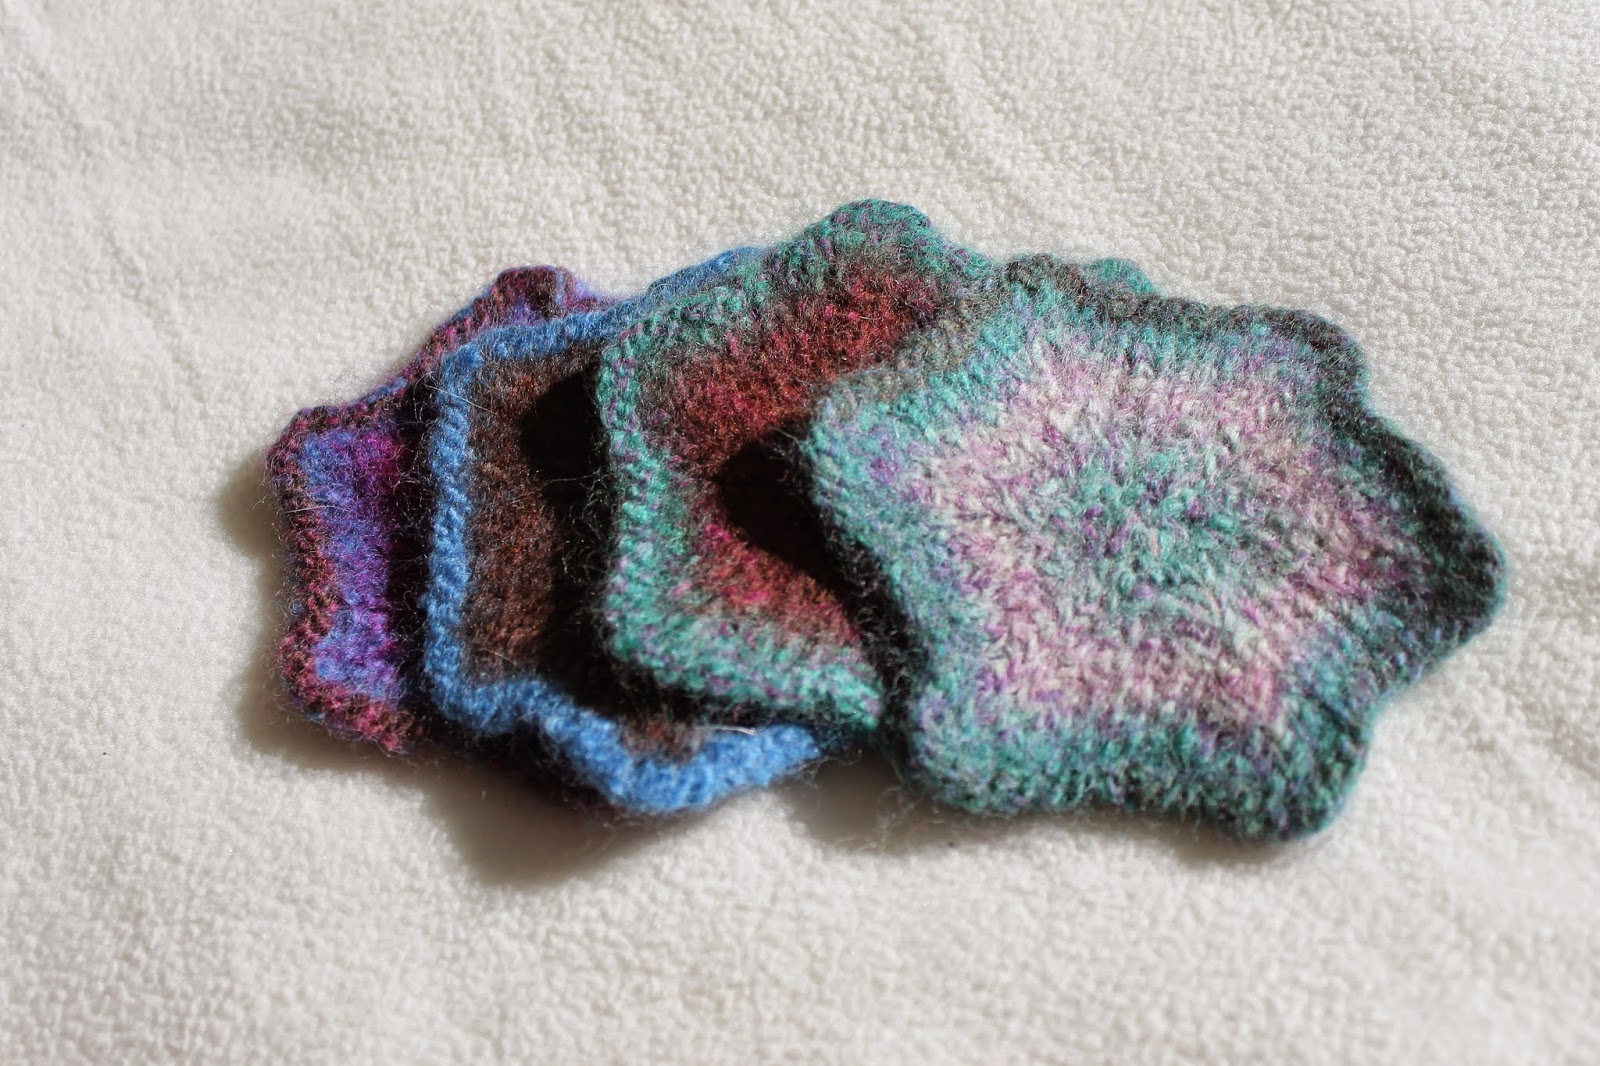
Set of 4 Felted Coasters 

I Need New Slippers

Finally Finished the Bay Horse


Briley's Cowl 
The UT Gloves. 
Custom Baby Sweater (not sure why the pic is
upside down) 
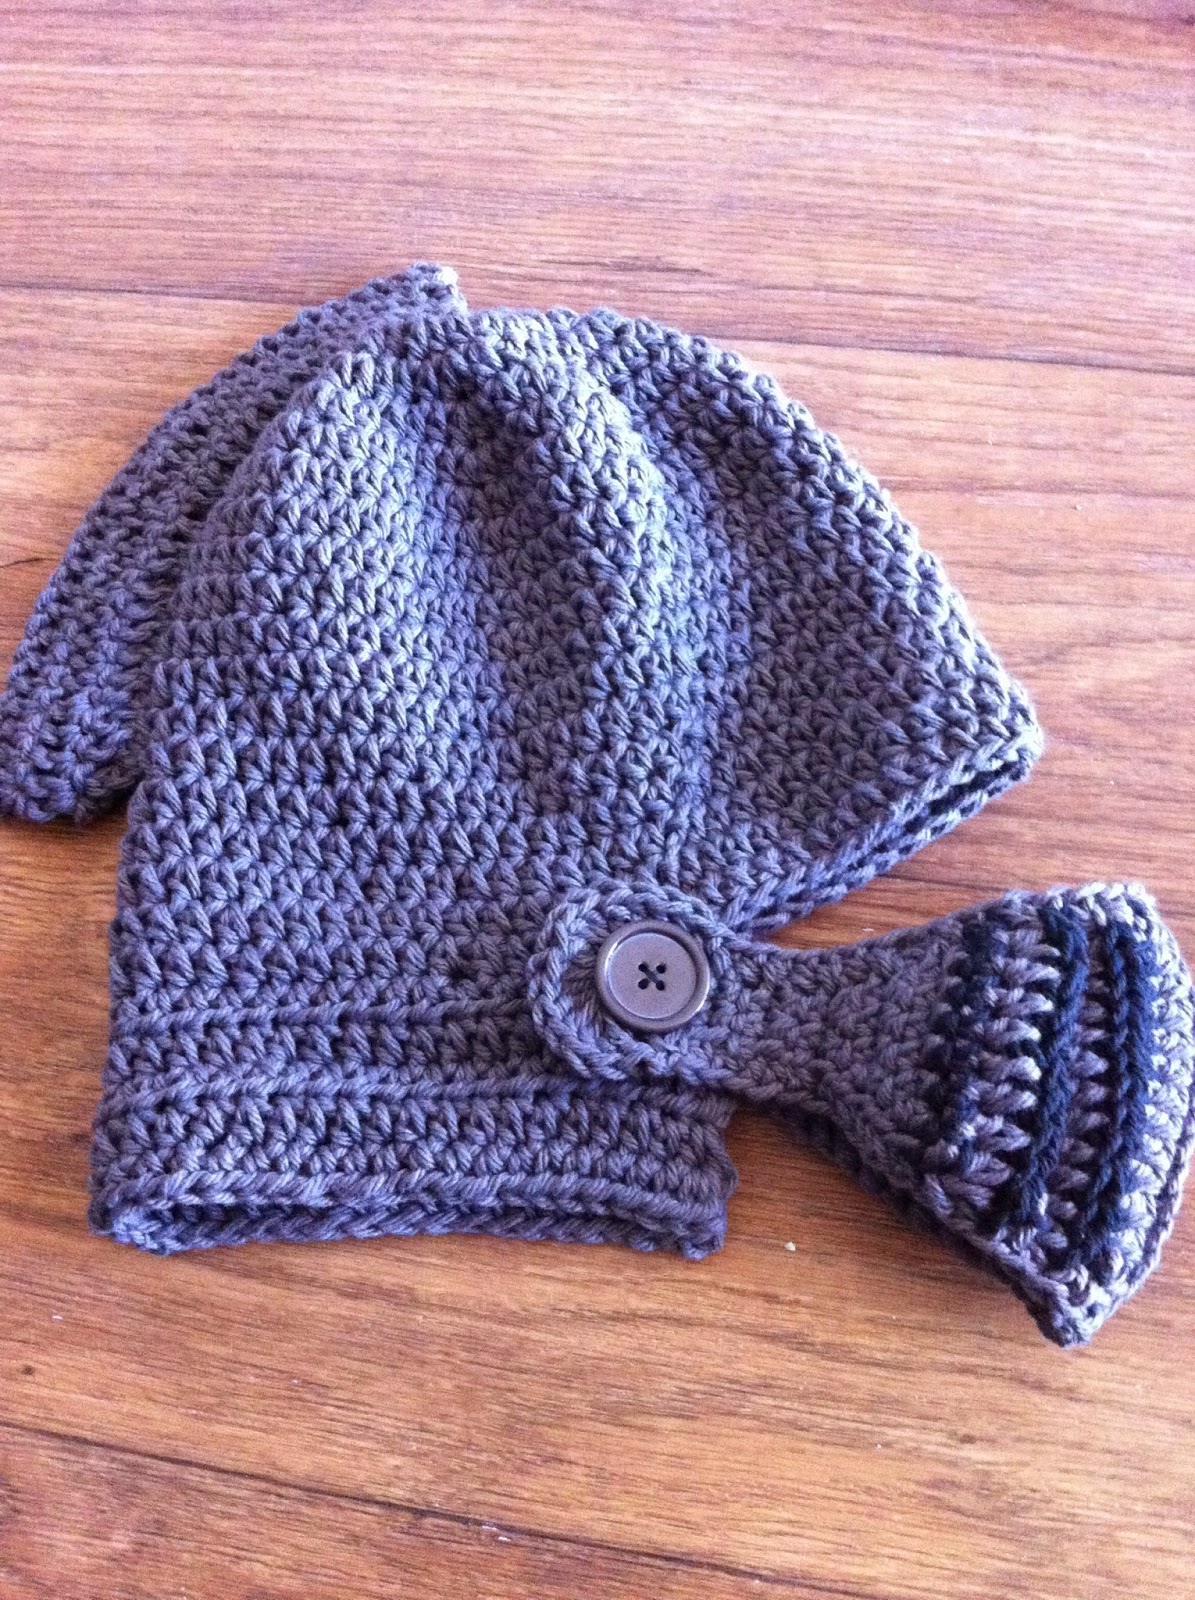
Knight Hat

SEWING: 
1 PHD completed

The New Year Superstition Project
Made for Halloween: Finally hemmed and buttoned. 
#sewmystashweekendchallenge1 Baby pants (Had to
incorporate hearts) 


If you'd like to see the FO's in progress, as they are completed, and some other random bits and pieces of life, follow me on Instagram!

Wednesday, January 28, 2015

Sew My Stash Weekend Challenge 1: What I Did

As I stated earlier, I am participating in the Sew My Stash dealy this year. And Leasa has set forth our first challenge here: Weekend Challenge 1.

Basically we had to make something that incorporate hearts into it, using at least 75% stashed fabrics.
 I immediately jumped to the red and white quilt I had started... awhile ago. And pulled it out. As I plugged away on some half done squares, I realized it would take me waaaaaaaay more than a week to get it anywhere close to being done.

I have twenty squares so far, but they are a lot smaller than I usually make so the quilt would be like 2 feet square. (I'm of the make a real, useful quilt camp, none of this 'wall hanging' or 'mini' quilt stuff.)

Then I told myself, "Hey didn't you get some fabric with hearts on it from Hobby Lobby or something?"

I went and stash dove. And couldn't find it. But I did happen on some other heart fabric that I received from a swap on Ravelry last year.  Pair it with some polka dot fabric and we're good to go.

I have some real quick and easy patterns that I could use. I checked sizes and amount of fabric and found I had just enough to do some of the reversible baby pants that I've been meaning to make more of for the shop.

So here they are: Valentine Reversible Baby Pants; Size 0-3 months.


Since I don't have a cute baby to put them on, you can look for them in the Etsy Shop or Facebook message me if you'd like them ;)

Friday, January 23, 2015

Pinterest Adventures: Fleece Blanket

Here's another Pinterest Adventure for you all! I found this pin that led to a blog post by Pieces by Polly.

I was super excited to see a finished edge on a fleece blanket that wasn't just knots, and didn't require double layers. I checked it out and there were some great tips on there! However, I added some of my own (not many) when I decided to embark on this adventure. 

First off, I found some great fleece in the remnant bin at JoAnns. I needed it. I was feeling a bit guilty about not showing my 'pride'. 


First off, Polly tells you to fold your fleece in half before you start. My thoughts: BRILLIANT. It means half as much cutting. After I did one side, I unfolded it, and refolded the other sides together. That way you work with one long end the entire time, and it helps later in the process so you don't end up with weird sizes in the middle of the blanket. 

Next Polly said to cut out 2x2 inch squares from each corner. I ignored this. As you go through the process these squares magically appear. 

Her next stroke of GENIUS was to measure two inches from the edge, and put a tape line there. 

This is so you know how far in to cut your strips. She says to cut strips one inch wide, but seems to just kind of estimate? She does use a rotary cutter on a mat so maybe she used the mat. . .  I however, used scissors because I like my scissors. To help me go faster, I measured on the tape and made marks every inch. 

Then you cut a fringe. Yep, cut the fringe like you would if you were going to knot the blanket. I then carefully removed the tape, refolded the fleece so the uncut edges were flat (they were folded before) and the fringe edges are folded. (Hamburger to hotdog if you are that type of folding person). Then I remeasured and REUSED the tape. This saved me the trouble of remarking tape. 


So far so good. Then I realized that to make it work, I would have to cut a tiny hole in each piece of fringe. I checked Polly's blog again to see if she had any tricks to make this go faster, and alas, she didn't. This was, for me, the most time consuming part of the process. Snip a little hole at the top of each piece of fringe. 
 I paid special attention to the size of the fringe. If there was a piece that was fatter... I mean, wider, than the rest, I took note of it. When you start 'braiding' it you need to cut one piece of fringe in half to be the last one... Keep reading this should make sense. 

At this point Polly loses all of her fancy rotary cutters and mats. She pulls out a paper clip. Yep a paper clip. As I read, I realized Polly must not do any knitting or crocheting, because a crochet hook would work better and faster than the paper clip. 

What I did was I used the crochet hook to basically chain stitch the pieces of fringe together. Put the hook through the slit on the piece of fringe next to your fat, last fringe piece. Working away from the designated end piece, hook the next piece of fringe through it's little hole, and pull it through the first pieces hole. You've looped the first piece onto the second. 


Now just keep going all the way around the blanket. You will loop all the pieces together and it will be awesome. But then how do you get the last (the fat one) piece to connect to the first one? Well, cut the fat one in half so you have two skinnier pieces, then wrap one through the first piece of fringe that you need to connect to  and tie the two skinny pieces together. Then tuck the knot under where it won't be seen. (You'll have to finagle with this to find a way that looks good to you.)

And Voila! You have your very own fleece blanket! 

I have done this several times now, and can say that from start to finish it takes me approximately 2 hours total. I've also made two at a time by layer the blankets beneath each other when cutting (you cut through 4 layers instead of two), which speeds up the process too. Of course, I don't have small children or pets who demand my attention. And my husband is gone when I do this.... 


Happy Fleecing! 

Wednesday, January 21, 2015

Crockpot Recipe from Pinterest: Buffalo Chicken Dip

This crockpot recipe was from Balancing Beauty and Bedlam. I can't really tell you much about this blog because I've only looked at the recipe for Buffalo Chicken Dip. Sorry. 

So, I really dislike it when recipes are for crockpots, but they require you to pre-cook something. That totally undermines the appeal and purpose of crockpot cooking. In my mind, a crockpot recipe means you toss everything in it and go.

This recipe called for pre-cooked, shredded chicken. Instead of precooking the chicken, I just put it in the crockpot first, then when I got home I shredded the chicken, still in the crockpot. Also, I didn't mix the cheeses and hot sauce together. I also didn't use bleu cheese, just ranch, because I like it better. I didn't soften the cream cheese, I just put it all in the crockpot, turned it on low, and left for work. I was gone about 7 hours in total. After shredding the chicken,  I stirred everything together really well, and put the remaining cheese on top. Then I did some chores: starting laundry, getting the mail, checking Facebook... the normal stuff.

It turned out really well. It's no KK Buffalo Chicken Dip, but it's still a great recipe and easily adaptable to your needs and preferences.

BUffalo Chicken Dip

INGREDIENTS

  • 2 cups finely shredded chicken, 
  • 2 (8 ounce) packages cream cheese, softened
  • 1 cup dressing (Mix and match Ranch/Bleu Cheese)
  • 3/4 cup pepper sauce
  • 1 1/2 cups shredded cheese (Your favorite – Cheddar, Bleu, Mozzarella, Mexican blend etc.)
  • 1 (8 ounce) box crackers, pita chips, Frito Scoops (your favorite)
  • 1 bunch celery, cleaned and cut into 4 inch pieces (for a light serving option)

INSTRUCTIONS

  1. Mix softened cream cheese until smooth.
  2. Stir in dressing, and hot sauce, then add chicken to combine.
  3. Heat in a skillet or microwave, until well blended and warm.
  4.  Mix in half of the shredded cheese, and transfer the mixture to a mini slow cooker.
  5. Sprinkle the remaining cheese over the top, cover, and cook on Low setting until hot and bubbly. If you do not have a crock pot, just melt cheese in oven or microwave.
  6. Serve with your choice of crackers and/or celery sticks, if going light.
For oven only variation, Mix all ingredients,except reserve half of the shredded cheese. Bake at 350 degrees for  15 minutes, then sprinkle remaining cheese on top and bake for five additional minutes.
Preparation time: 5 – 10 (Goes very quickly with cooked chicken)
Cooking time: 20 minute(s)
Number of servings (yield): 12

Sunday, January 18, 2015

New Years Resolution Motivation

As we enter week three of the New Year, some of you may have already fallen off the resolution bandwagon. However, remember: Just be a little better than you were yesterday. You can start over, each week and day is a new start. And remember, this is YOUR life, not someone else's. Be sure to focus on you and you will become the person you need to become.

Friday, January 16, 2015

Felting: Before and After

While house and cat sitting this Winter Break, I had open access to a top load washing machine. Glorious Day! I happened to realize that a pair of my slippers had worn through, and wanted to make replacements, which involved felting. A process that I only know how to do using a top load washing machine.
So I took advantage of the opportunity and slammed out a new pair of slippers with yarn from my stash. I also had been wanting to try to make some felted coasters and those practically fell off the needles.

Felting: the process of making a matted fabric of wool, hair, etc, made by working the fibers together under pressure or by heat or chemical reaction. 

Basically, you PURPOSELY SHRINK A WOOL GARMENT. To do this you make the slippers ginormous, then shrink them until they fit. It took three rounds in the hot wash with a rug to get the slippers to the right size.


The Slippers: Before 


The Slippers: After 


As for the coasters, the process is the same. You make 'em big, then shrink them til they're the right size. It only took one cycle for the coasters, I'm assuming that's due to the difference in yarn brands. 
I was also with it enough to take a picture of the yarn before knitting them up. So now you all get to see the whole she-bang with the coasters. 
The Yarn Before: 

Knitting up/ Pre-Felting:


The Finished Product: 


TA-DAH!!!!


Friday, January 9, 2015

Sew And Knit my Stash 2015

Lately I've been trying to be more active on Instagram. Mostly out of the boredom that comes with not having classes or work for a month...
While on there one day, I happened upon the account of a lovely lady named Leasa. She has a blog: Project Leasa. She's informally heading up a group New Years goal.


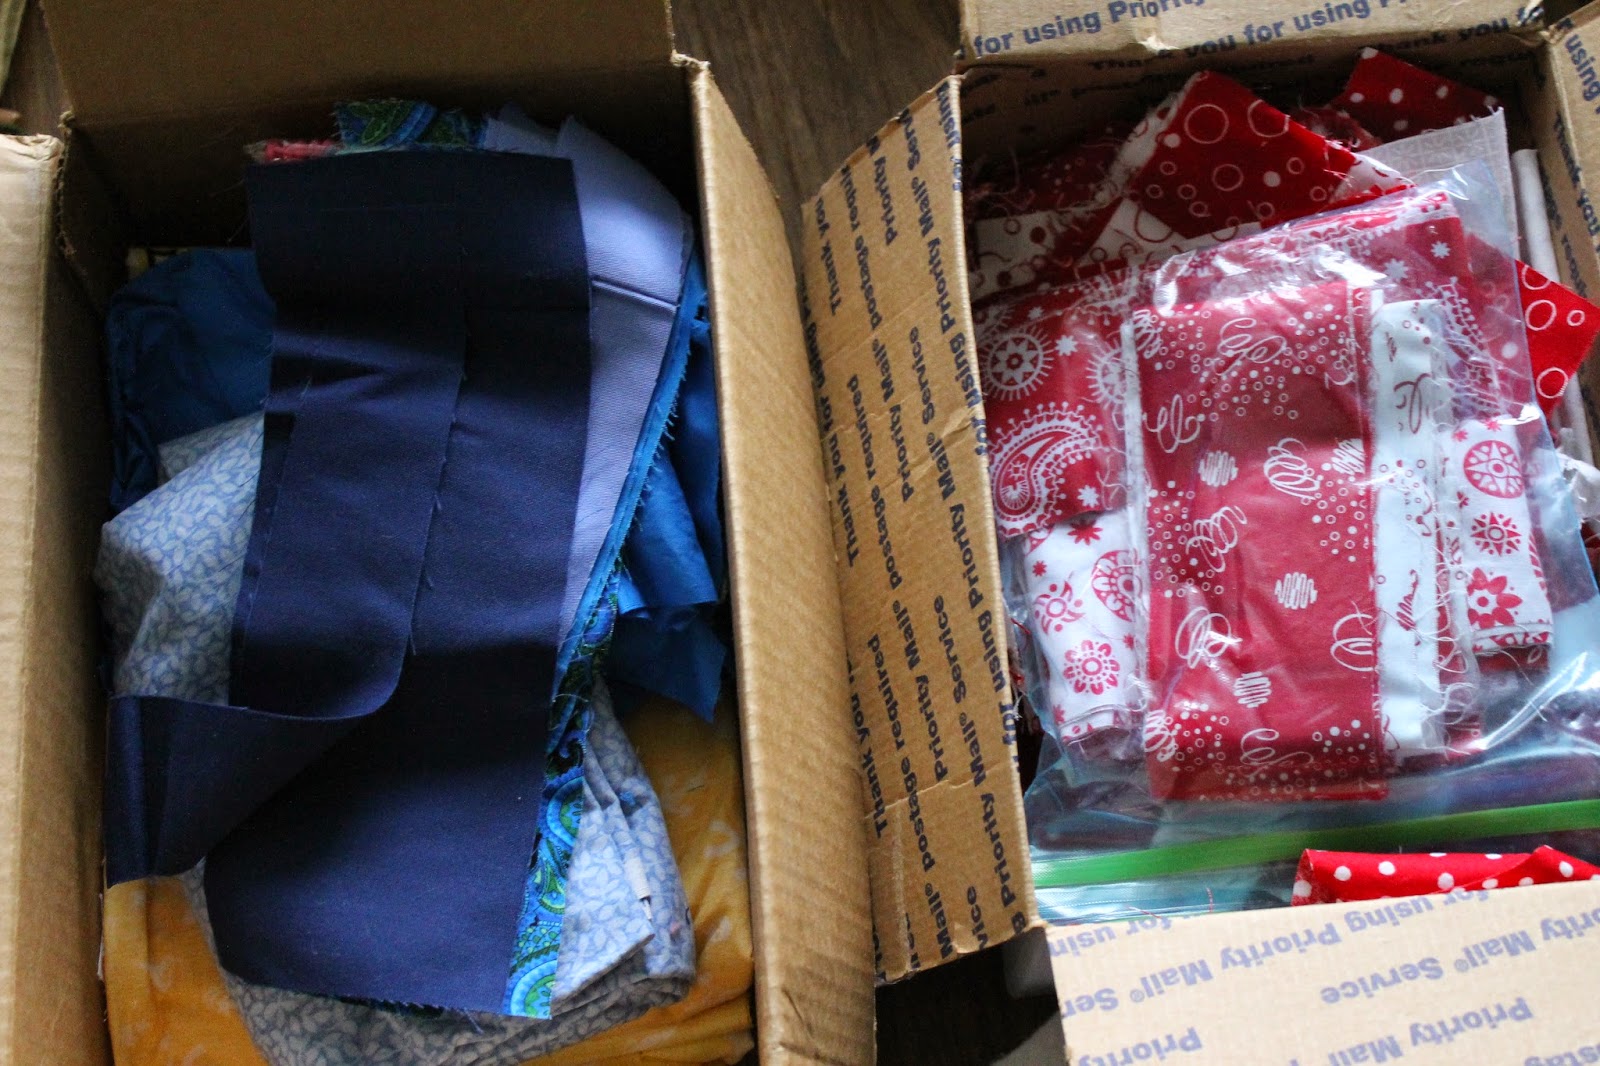
The first challenge was to post a picture of your stash. There were some incredibly huge stashes posted, and all of them amazingly organized. Which made my stash feel a  little, well... 


It seems so small compared to others I saw. BUT I am a grad student, so budget is tight. And we are in a tiny apartment, so space is at a premium. I vowed to not buy any more fabric or yarn for at least one full month. A small step, but at least I can get started on some of the stash. 


 And because I'm a planner, I went through my new pattern books and made plans. I'm all about the planning.


 Since I've been blessed with many talents, I decided to extend the challenge to Knit My Stash, too. In fact, I'd been planning on knitting my stash for a couple of months now. This challenge has just been the final push to get me to actually do it. So, here's my yarn stash (and this is after some major destashing via swaps and giving away) 


Again, it seems so small compared to others I've seen.... 

Step one to this plan is to finish all my PHDs aka WIPs (projects half done and works in progress to you non-fiber friends). Which I'm doing pretty well on if you follow me on Instagram . I will continue to post on Instagram and hope to be able to make bi-weekly posts here on the blog to keep myself accountable!

Good luck fellow #sewmystash-ers! And feel free to join in! Leasa is posting helpful hints and motivations to stay on track all year long. 

Wednesday, January 7, 2015

Crockpot Success! Chicken Fajitas

I love my crockpot. Actually, I have two... but our family is small right now so I only use one to cook. I'm sure I'd love the other one too, once we have room to use it, and people to feed with it.

I'm slightly obsessed with finding recipes to use in the crockpot. My husband and I like eating, and we're not too great at eating healthy, so I decided to try to reverse that. We'll still love eating, but we'll eat healthier. Part of this is that I'm going to do all I can to sit down and plan meals, get the shopping done, and it will be ready to go. No desperately hoping I have ingredients to make something as I drive home in rush hour traffic. No last minute ditch to go get Cook Out because it's cheap and delicious (and fried).

This weeks crockpot success is Chicken Fajitas from Stacymakescents online. I found the recipe via a 100 days of no processed foods pin on Pinterest. Here's the deal though, I have a bad memory and could have sworn I had cumin. No cumin. However, my husband had a spice container labeled "Fajita Seasonings" so I put a bunch of that in. (I'm a fan of eyeballing when it comes to cooking some things). The other substitution I did was I put a squirt of Tabasco instead of lime juice. (I hate citrus, unless you are eating an orange straight up. Don't use it to flavor anything.)

I am declaring it a success. I put mine on a tortilla with just a bit of sour cream and nothing else. I was surprised at how good they tasted! Go ahead and try it out. It's a keeper!