Showing posts with label #sewmystash. Show all posts

Friday, September 29, 2017

 Last Week, I was able to pattern test for Patterns for Pirates as part of a competition. While I didn't get selected, I did have fun! We made the Walk the Plank PJ Bottoms. They are a simple, quick sew, perfect for beginners. Plus they come in sizes from 3 months to adult 3XL!


As you can see, Little Bit here loved modelling her pair. And they were loose and easy to move around in, and we all know she's at the stage where getting her to be still for more than 0.2 seconds is impossible. 

BONUS- the pattern is FREE! Go here for the adult sizes and here for the kiddos.

Tuesday, March 14, 2017

Special?

I set out the challenge for the stashalong this month to use your special item. The one that you are saving because, well... it's special.

But as I went through my stash, I realized I don't feel like I really have any special fabric that I'm saving. Same with yarn. So I plodded on and started using up some scraps for the 9-patch a day challenge ( check my Instagram to see them!).

As I finished up with scraps I dug out some jelly roll strips. I gazed at them a moment, and placed them back. Then I realized it. Those jelly roll strips are my Special. Not because I treasure them, but they needed the perfect project and 9-patch just wasn't going to cut it.

So I set out on a quest to use those jelly roll strips. I found two projects that I felt were executable, and went ahead with the first one.

The key here was I didn't hesitate. I didn't give myself a couple of days to decide if it really was the perfect project for them because that's what got them languishing in the stash in the first place. I picked the pattern and started cutting away. I don't even know if I have enough of the base fabric that I need to actually complete the project, but that's not important.

What's important is that I am using my stash.

How's it going with your stashalong projects? I'd love to hear what everyone is working on!

Thursday, March 2, 2017

How to Make Bias Binding

Working from stash is like a game to me. I love going through it and seeing what pops out and what suddenly goes with what.

I had some terrycloth in the stash, and I don't remember why I bought it or what I had in mind for it, if I even had a project in mind for it. But I found it around the time I realized we had no towels for Monkey to use, so I thought I would make it into a towel for her. I contemplated how to best do that when another fabric, some left over from a skirt I made, jumped out at me.

It MATCHED the towel perfectly. I decided to create some bias binding for the terrycloth, thus eliminating any hemming or serging.

I don't really remember where I learned to make bias binding, so I decided I'd go ahead and document the process for you all in the hopes that it will help at least one of you in the future.

The Benefits to Making Your Own Bias Binding

The biggest benefit I can think of is: You can make binding that is super cute and matches perfectly whatever project you are working on. I usually see just plain, solid color bindings in the store. While those have their purposes, sometimes you need a patterned binding because you have a solid item. 

You will never run out! As long as you have stash, you have a supply of binding. 

If the store is closed because it's super late at night and you're sewing because it's the only time you have to yourself, you can still finish a project because you have your own supply of binding. 

Here We GO!

Materials

A square of fabric- if you have a rectangle that's ok, just make it a square!
Scissors (or Rotary cutter)
Sewing machine
Iron

Now, I'm sure there's some math equation that we could use to determine how much binding you will end up with based on how much fabric you start out with, but math and I have a tolerable relationship. When it comes to sewing, I have a talent for looking at something and knowing if it will work or not, so I just plow ahead. If in doubt, make more than you think you will need! 

We start out with a square of fabric. If you have a rectangle, then measure and cut it to be a square. The bigger the square, the more binding you will end up with. I made two squares from this stash fabric and have a lot left over from the project I used it on. 


Cut diagonally across the fabric. You will end up with two triangles. 


Move one triangle to the other side of the square. Confusing right? You want to end up with a trapezoid. Look at the previous picture and note where the white selvedge  edge is. I moved that piece from left to right. So, the left side of the original square is now touching the right side of the square. 

Sew these together and press the seam open. 


Now is where some math comes in. I wanted a thicker binding. So, to get a 3/4 inch binding I cut 3 inch wide strips. Double the width you want, then double again. (1 inch binding: 1x2=2, 2x2=4. You will cut 4 inch strips) 

Measure the width of your binding and mark it on the fabric. You mark all the way across, lining up your ruler with the original top (or bottom) of your square. Do this down the entire piece of fabric. I ended up with five lines across mine. 


Next, line up one side of the first line with the top of the fabric. This will offset the top and bottom as pictured above. Sew the seam  and press open. 

Note that the lines will not perfectly line up. I've never gotten them to. This is where we kinda fudge it and hope for the best. 


At this point, you, if you've done it right, can trace your finger along the lines you  marked and not have to lift it off the fabric. They should make a spiral around the fabric. 


Grab your scissors and cut. Cut along the line you marked. You will end up with one long strip of fabric, cut on the bias. 


At this point, I pressed the entire strip, seams open. Just because. 


You may end up with little triangles hanging off the edge of the nice straight strip. Don't worry about them. 


You can cut them off. No harm done. 


Now, we get to do a lot of ironing. Fold the strip in half, wrong sides together,  and iron. If you had a 4 inch strip, you now will have a 2 inch wide strip (double thickness).


Next, fold one of the raw edges up inside the fabric to the center line you just ironed. Iron it. 


Finally, take your other raw edge, fold it in to the center line, and iron it. 


If you unfold the center iron (the first one you did) the two raw edges should meet in the middle. The inside looks like this. And you will have bias tape!

Ta da!

Alternate Cutting


I don't know why, but I find this easier, even though it seems to take some more sewing. It really doesn't, and I don't have to mess with my scissors.
Marking lines to cut is optional here. I just take my ruler and rotary cutter, and measure and cut. Instead of ending up with one long strip, I have several small strips. 
I sew the edges of the strips together to get one long strip, and then proceed with the ironing. 

I think  I feel like it goes faster because you eliminate the marking step, and the scissors. I think the scissors just take longer than a rotary cutter does.


Finish Up

And there you have it! How I make bias binding. Stay tuned to see the finished item I used this binding on in a future post. 

Did you try this? How did it work out? Share you questions, comments, and PROJECTS with us! 

Tuesday, February 28, 2017

Stash Along March: Special

You Made IT!

February was a tough one, wasn't it? But you did it. You made it. You are amazing! If you want to, keep going with the Freeze. See if you can make it to 50 or 100 days. The longer you go, the more dependent you become on your stash, which in turn creates the habit of going to stash first instead of always heading to the store when you start a project. The more stash you use up the more space you will have in your house.

Now, the theme for March is Special. After having gone an entire month without adding to your stash, I hope that you are getting to know exactly what is in your stash, not just have a vague idea of what is in there. And this is part of the challenge this month.

You know you have it. A special skein, or special fabric, or special piece of paper. It's SPECIAL you have to have the perfect project for it. Or the 'right time' to use it.

Now is the time.

Take that Special piece, and use it.

Tuesday, January 31, 2017

I'm NOT adding to Stash

Ok. So the February challenge is to not buy anything to add to your stash. How's it going so far? Yeah?

If you need a little help accomplishing this challenge, I have some tips for you. I've done  these when I've done spending freezes before. (100 days is usually what I go for.)

Break it Down

A month seems so long right? You really struggle with this, I mean, you've tried it before and it didn't work.

Just break it down. Set the goal to go a day. Then make it a week. Then keep going. You eat an elephant one bite at a time.


If you are a visual person, make a special mark on each day you don't buy. Make a chain of days with the mark on them, and DON'T BREAK THE CHAIN! This is something that totally works for me. When I did the 100 day challenge, I actually wrote the number of the day I was on.

Focus on Finishing

You know all those WIPs and PHDs? (Works In Progress and Projects Half Done.) Finish them. It feels great to finish. You can check them off your list. Bonus, if you get them all done, you can start out March with a clean slate.

Savings

Ok, this one is one I have not actually done, but have thought about it and may try it this go-around. Every time you are tempted to add to your stash, write down the price of the items, and then walk away. DO NOT buy it, just take note of how much it would cost you if you were to buy it.

From here you have two options.

 At the end of the month add it all up and be excited/surprised/flabbergasted at how much money you did not spend on supplies. What could you do with that money instead? Emergency savings? An extra payment on the car/house/credit card?

Or, each time you are tempted to buy, instead of buying move that money from your checking to your savings account. Do it as you are in the store if you have a fancy phone that allows you to do that. Again, at the end of the month look at the total amount of money you saved by not buying for your stash.


Those are my top  tips to help you accomplish this month's goal. What are your strategies for not buying?

Tuesday, May 31, 2016

Finished Object Roll Call: May 2016

Knitting/Crocheting

Preemie Hat

A Baby Sweater! 

Sewing


The Cardinal Blanket


A custom ordered skirt and one gift fleece blanket, that I didn't get a picture of. 

If you'd like to see the FO's in progress, as they are completed, and some other random bits and pieces of life, follow me on Instagram!I also do GIVEAWAYS on Facebook.  You should go 'like' the page, be sure to be following it too! 

Monday, September 7, 2015

100 Days of Sewing- Sort of

So, awhile back I decided to sew every day for 100 days straight. And I almost made it.

You see, I started in the summer when things weren't as crazy as they could have been, so I did awesome. Then, two weeks ago, I started a new job. New job, new hours, new responsibilities. It was a bit overwhelming (and still is). On the night of day 72, I crawled into bed exhausted. As I drifted off to sleep I realized that I hadn't sewn that day. At all. Had this been a few months ago during school and all that, I would have dragged myself out of bed and sewn a seam, lost sleep would have been no big deal.

But I just couldn't. I was waaaaaay too tired, and stressed, and worried about being late to work and falling asleep in training, and all that stuff that could make the new bosses not look too kindly on me. I decided it was okay to take a break, and it's been a couple of weeks now.

Today is day 50 of no buying yarn (minus ones needed for a custom order placed). 50 Days! . And it's day 31 of no fabric. I'm on a roll! So I decided to go ahead and take advantage of the streak and start 100 Days of sewing again. I'm sure I can make it, no problem. I've got quilt blocks, quilts, a skirt, and an alteration already lined up to be done. Not to mention the giant box of stash that needs to be used too!

Here's a look at what all got finished-finished in the first round of 71 days:
(Not pictured, yet, a vest for myself and a bean bag that I will be posting on in the near future)


Tuesday, February 10, 2015

Well, there goes one of my goals...

I truly meant to be better at posting here this year. I feel like I did freakin' awesome in January, and then February happened.

We moved, school started getting more involved, and well some things flew out the window.

So here's a quick note for you all, I am working on some things that I hope will actually make it out of my head and onto the blog in the next few weeks and months.

Preview: Precuts Party for the #sewmystash2015 challenge:
 See ya in a few...

Saturday, January 31, 2015

Finished Object Roll Call: January 2015

KNITTING/CROCHETING 
5PHD's completed, 2 frogged. 
The Last Dishcloth in a Set 

Two weeks after Christmas... 
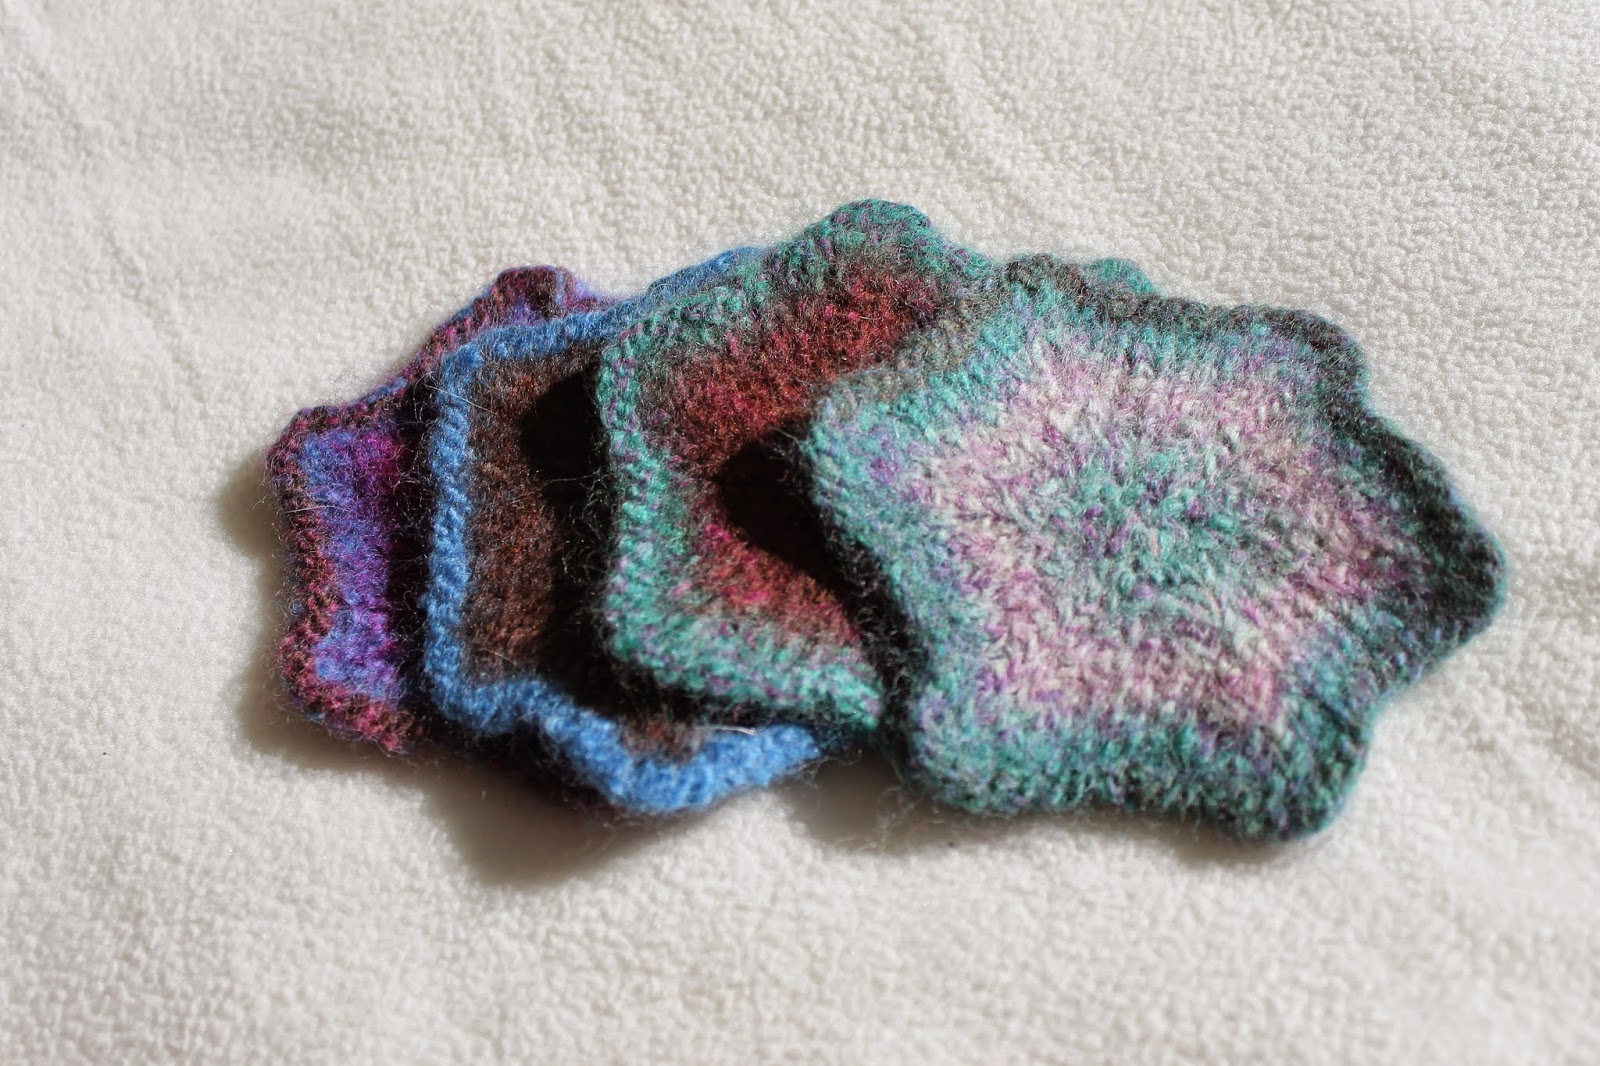
Set of 4 Felted Coasters 

I Need New Slippers

Finally Finished the Bay Horse


Briley's Cowl 
The UT Gloves. 
Custom Baby Sweater (not sure why the pic is
upside down) 
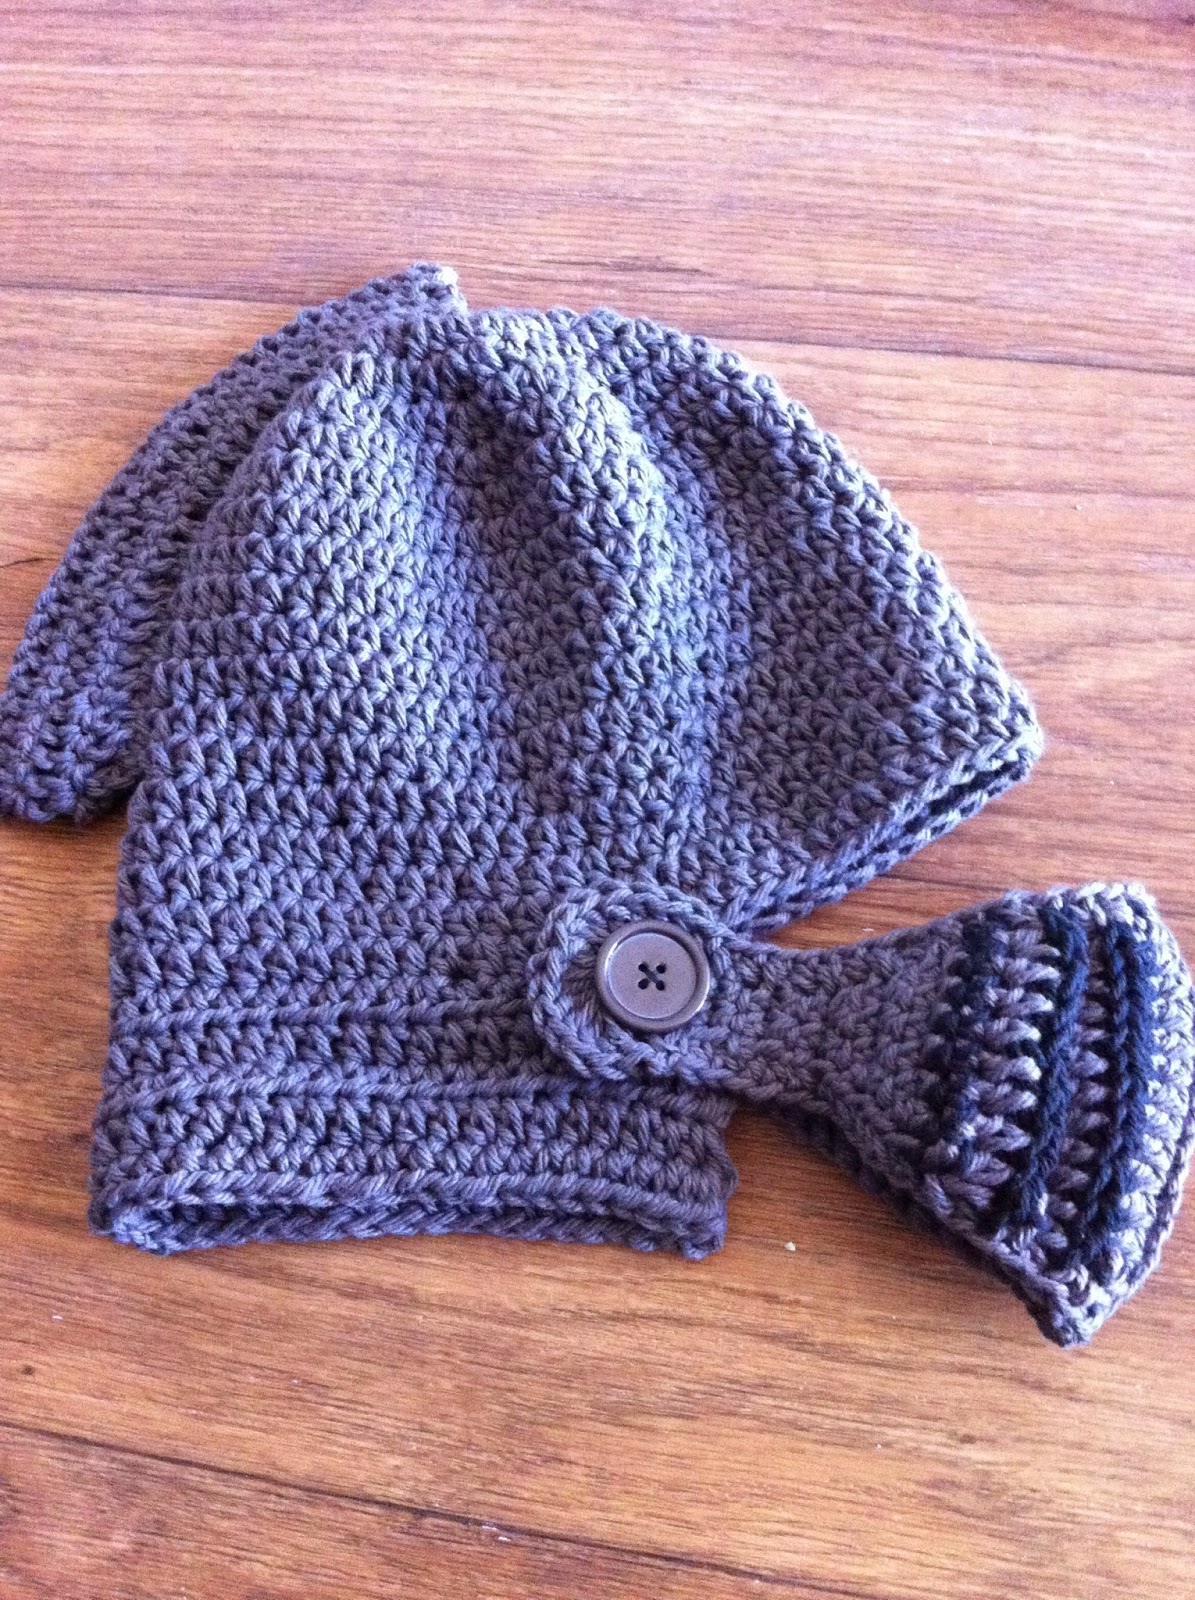
Knight Hat

SEWING: 
1 PHD completed

The New Year Superstition Project
Made for Halloween: Finally hemmed and buttoned. 
#sewmystashweekendchallenge1 Baby pants (Had to
incorporate hearts) 


If you'd like to see the FO's in progress, as they are completed, and some other random bits and pieces of life, follow me on Instagram!